

With finals out of the way, it was more than time to get going on the layout again. I focused my energy on Horseshoe Curve. For starters, I planted more goldenrod trees. Now normally when you plant trees on a hillside, you normally want to place the taller trees on the bottom and the shorter ones on the top. This gives the illusions of distance. However, I wanted to give the illusion of the hill being taller than it actually was. To do this, I place the taller trees on the hill and the shorter ones on the bottom. I think the effect is quite convincing.
While the Horseshoe Curve Visitors Center wasn't opened until the 1990s, there was always a little gift shop at the base of the hill. I chose to use an Alloy Forms "Yard Master's Office" kit. This is one of three Alloy Forms kits I purchased at a train show a few years ago. I have to say, they're nothing to get excited about. They're made out of pewter and as such require CA to glue together. Also, the parts are quite fragile and bend and mangle if you look at them wrong. They also come with huge, clunky metal bases that are very difficult to hide. I ended up cutting most of the base off.
After the gift shop was done, I added a pair of street lights to the parking lot and installed the road bridge over Kittanning Run. The bridge is a Rix "Modern Highway Overpass" kit salvaged from my last layout. I also painted the stream bed of Kittanning Run and the area around the edge of the future reservoir.
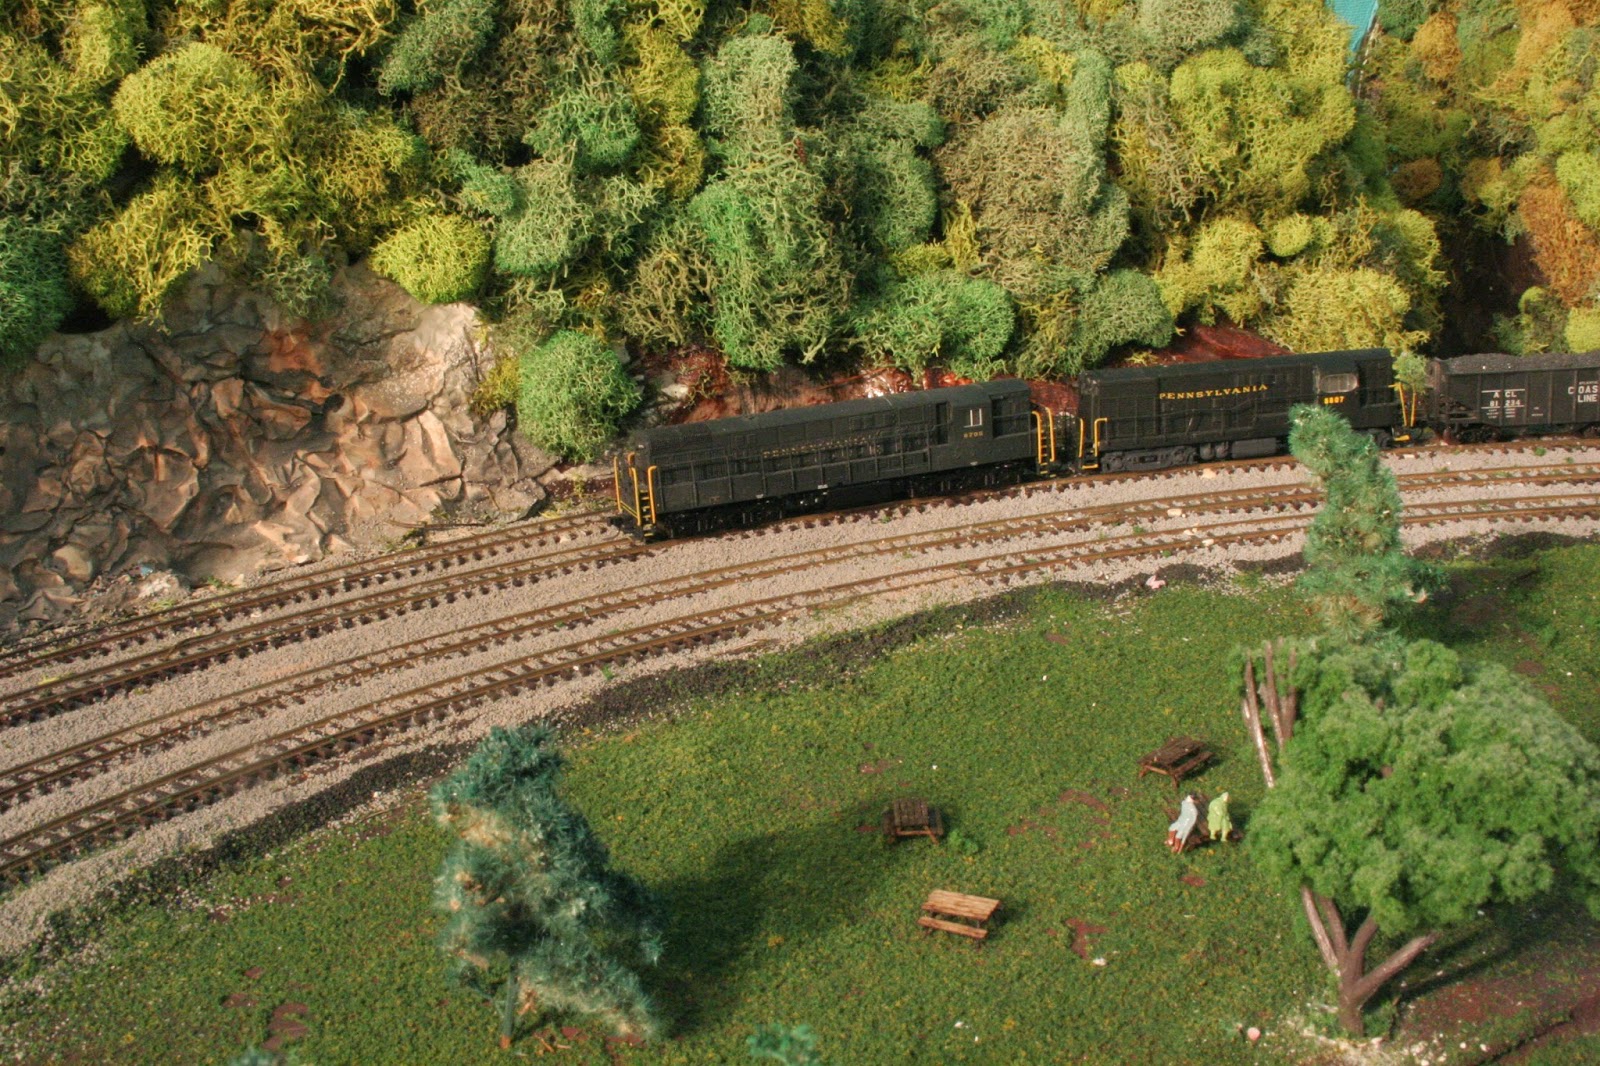
For my last trick, I added a quartet of picnic tables to the park area inside Horseshoe Curve. The tables are from New Rail Models and good golly, what a pain they were to assemble! These thing are tiny! Needless to say there was a good about of teeth gnashing a bad language as I put these things together.
I wanted to add some street lights to the park area, however there was a problem. The park area is composed of two layers of 2" foam sitting atop yet another layer of 2" foam. That makes a grand total of six inches of foam to pass wires through. My usual procedure for running wires through the foam is to drill a hole through it and the layer of luan plywood beneath the foam and push a piece of styrene tubing through it.
Well, I don't know what the problem was, but I simply couldn't get the tubing through the foam. I tried forcing it, I tried hitting it with a hammer, but it would not go through. Next I tried a screwdriver and even that wouldn't go through. Stumped, I just gave up and covered the holes with course turf and called it a night.
No comments:
Post a Comment