Tuesday, December 30, 2014

Ground Broken on Johnstown Yard

A short branch line will link Johnstown to a coal truck dump.

The staging yard will have two run-through tracks and two stub-end tracks.
Yesterday, work finally got underway on the Johnstown staging yard. Like it's counterpart in Altoona, it will be visible and sceniced. The first part of the project consisted of moving the various material I had stored on that end of the layout. And boy there was a lot of it!

Once I'd clear sufficient real estate, I set about layoing down Midwest Products cork road bed. Unlike Altoona, where all tracks run through, two will be dead ends. Also included in the festivities was a short branch line that runs east out of Johnstown, with a spur for Red Wing Milling and George Roberts Printing. Ultimately, the branch line will terminate at the coal truck dump.

Now, I'm waiting on an order of rail joiners in order to complete the project.


Another project of mine was this Lifelike "William's Country Store" kit. Right away I decided I didn't like the stock colors. So I painted the walls "Roof Brown" and the roof "Grimy Black." I originally wanted to do "Antique White" on the trim but, being a runny pain-in-the-ass, I decided to go with "Rail Brown" instead. Now all that's left is weathering.

I'm also not sure I like the base. If it weren't for all the steps and stuff, I wouldn't have bothered. Honestly the bases look awful and are hard to disguise. I may just cut most of it off with my Dremmel and be done with it.


Wednesday, December 17, 2014

Humpty Dumpty is Back Together Again


Well, after being out of service for the past few months, my I1sa is back in action. Back in August, a certain klutz who shall remain nameless accidentally bumped the layout and knocked the engine off. It fell the floor and broke the crank on the fireman's side valve gear. Given that the Minitrix 2-10-0 has been out of production for years, parts are no longer available. It was looking very uncertain if she would ever run again.

Fast forward to last Sunday when I posted a query to the PRR N Scale Modeling Facebook group about obtaining a replacement crank. Member Chris Broughton very graciously offered to provide a replacement set of cylinders, cross heads, main rods and valve gear that he'd stripped off a junker. The parts arrived in the mail today.


Since the whole assembly is riveted together, I had to replace the whole thing, which really isn't that bad of a job. It was just a simple matter of removing two screws, removing the old assembly, replacing it with the new and reconnecting the side rods. I did have to clean a bit of CA out of the hole the vale gear crank connects two on the fireman's side. It was there from my botched first repair attempt. Other than that, it was pretty painless.

Saturday, December 13, 2014

A Flagpole for Horseshoe Curve

In the 1950s, Horseshoe Curve looked very different than it does today. It sported only rudimentary facilities and a a small park next to the tracks. One feature of the park was a flagpole. This was dead-easy to model. All I did was print out a a flag, cut it out with an exacto knife and taped it to a piece of styrene.

I also yanked out the tree I planted to cover one of the holes I drilled yesterday. Woodland scenic course turf is just as effective at covering the hole without blocking the view.

Thursday, December 11, 2014

Busy Day at Horseshoe Curve


With finals out of the way, it was more than time to get going on the layout again. I focused my energy on Horseshoe Curve. For starters, I planted more goldenrod trees. Now normally when you plant trees on a hillside, you normally want to place the taller trees on the bottom and the shorter ones on the top. This gives the illusions of distance. However, I wanted to give the illusion of the hill being taller than it actually was. To do this, I place the taller trees on the hill and the shorter ones on the bottom. I think the effect is quite convincing.

While the Horseshoe Curve Visitors Center wasn't opened until the 1990s, there was always a little gift shop at the base of the hill. I chose to use an Alloy Forms "Yard Master's Office" kit. This is one of three Alloy Forms kits I purchased at a train show a few years ago. I have to say, they're nothing to get excited about. They're made out of pewter and as such require CA to glue together. Also, the parts are quite fragile and bend and mangle if you look at them wrong. They also come with huge, clunky metal bases that are very difficult to hide. I ended up cutting most of the base off.

After the gift shop was done, I added a pair of street lights to the parking lot and installed the road bridge over Kittanning Run. The bridge is a Rix "Modern Highway Overpass" kit salvaged from my last layout. I also painted the stream bed of Kittanning Run and the area around the edge of the future reservoir. 


For my last trick, I added a quartet of picnic tables to the park area inside Horseshoe Curve. The tables are from New Rail Models and good golly, what a pain they were to assemble! These thing are tiny! Needless to say there was a good about of teeth gnashing a bad language as I put these things together. 

I wanted to add some street lights to the park area, however there was a problem. The park area is composed of two layers of 2" foam sitting atop yet another layer of 2" foam. That makes a grand total of six inches of foam to pass wires through. My usual procedure for running wires through the foam is to drill a hole through it and the layer of luan plywood beneath the foam and push a piece of styrene tubing through it. 

Well, I don't know what the problem was, but I simply couldn't get the tubing through the foam. I tried forcing it, I tried hitting it with a hammer, but it would not go through. Next I tried a screwdriver and even that wouldn't go through. Stumped, I just gave up and covered the holes with course turf and called it a night.

Thursday, November 27, 2014

More Work at Horseshoe Curve


Well first off, Happy Thanksgiving everybody! Over the past couple of days I've gotten more turf down at the curve, painted the road and touched up the paint on the tunnel portals. The little gravel horseshoe on the hill was made with Woodland Scenics buff-colored ballast. 

Monday, November 24, 2014

Lots of Work at Horseshoe Curve


Horseshoe Curve certainly took a great leap forward tonight. I started things off by ballasting some more track. Not to kick a dead iron horse, but I hate ballasting. It's always a giant pain in the ass and tonight was no exception. The fun started before I even put a single spoonful of ballast onto the tracks. No sooner did I open the bag, it tipped over and spilled its contents all over the place, which made a mess, which made me angry. Anyway, long story short, I eventually got all the ballast in place.

Once the ballast was in place, I went ahead and installed the Culvert that carries Glenwhite Run under the curve. After that I went ahead and applied a whole bunch of turf to the surrounding hills and the area around the base of hills.

For my last trick I went ahead and dug the bed for Kittanning Run. Unfortunately, all that gouging of Styrofoam left the stream bed very uneven. I used some patching plaster to smooth it out.

Saturday, November 22, 2014

Fixed the Grade Crossings


I managed to get the grade crossings fixed. I took the center pieces and hit them with my Dremmel until they were just about paper-thin. Now all the trip pins clear them. On the downside, I snapped two of them in half and chipped one of them. But hey, they're installed. Thank God the rest of the line is grade-separated.

Oh and while I was at it, I went ahead and stained the pedestrian crosswalk. I used Minwax "Special Walnut."

Failing Grade, Crossing That Is


Well, it turns out the Blair Line grade crossings ain't gonna fly. Last night, I fired up the layout for some much-needed playing of trains and all seemed fine until a long frieght encountered the newly-installed grade crossing. Sudenly I noticed train had decoupled right at the crossing. When I went to investigate, I discovered that the coupler trip pin on the first car of the decoupled consist was striking the crossing.

At first I thought I'd simply trim the trip pin so it would clear the crossing. But then I realized if one pin was causing problems, there were bound to be others and I was setting myself up for an ongoing battle. I'd used these crossing on my last layout with no problems but said layout was also laid with Code 80 track instead of Code 55.

So what to do? The best solution I could come up with was to remove the portion between the rails and sand them down so they don't sit too high.


Sanding seemed like a good solution in theory. But in practice, the sanded pieces started warping like the were auditioning to be a modern art masterpiece. I tired using glue to fight the warping to no avail. First I tried foam tack glue, then CA and finally hot glue, nothoing would hold the end down low enough for the trip pines to clear.

So it looks like I'm going to have to go with plaster grade crossing, which kind of sucks because I think the wooden ones look so much cooler. But I'll trade asthetics for operational reliability any day of the week.

Thursday, November 20, 2014

More Work at Kittanning Point

Well, I certainly got a lot accomplished over the past two days. I got the remaining grade crossing installed and stained. I plastered the road in between said crossings. I added the wooden crosswalk to the eastbound platform installed. I also built the remaining platform section from my Atlas station kit to serve as the eastbound platform. For my last trick, I added some blended turf around the outside of the station.

Now this little Atlas station looks nothing like the real Kittanning Point station, which was a glorious old stone structure. However, the real station was also torn down long before 1956. So yeah, more of that impressionist approach I was telling you about. You can see pictures of the old station here (link).


Wednesday, November 19, 2014

Progress at Kittanning Point


I've finally gotten back to work on the Kittanning Point station area. I paved a small parking lot and installed the first of four Blair Line wooden grade crassings. I can tell you right now I'm not looking forward to putting plaster between said grade crossings. But I might as well suck it up and get it done.

To the right of the paved parking lot, I created a small gravel area. I took a while deciding exactly which color gravel to use. Eventrually, I setteled on black after consulting several prototype photos. I sprinkeled on a little bit of Woodland Scenics "Yellow Grass" fine turf to give the impression of weeds. 

I also felt the area needed one more structure. So I added the small shanty just to the right of the grade crossing. It came from a Cornerstone "Shady Juction Structures" kit. I salvaged it off my last layout. I did decided to go ahead and repaint it to match the depot and give it more of a Pennsy look. I used Floquil "Depot Buff" for the walls, Floquil "Tuscan" for the windows and doors and Floquil "Grimey Black" for the roof.

The PRR Maintainance Truck is a Classic Metal Works model. To round out the scene, I will probably add a nice pile of old ties and a few lengths of old rail.

Other than that, all that remains is to build the remaining platform section from my Atlas station kit and place it adjacent to the eastbound track, install the remaining grade crossings and a Blair Line wooden crosswalk between the platforms. I'll also put down some turf for the non-paved or graveled areas and paint the parking lot dark gray.

Sunday, November 16, 2014

Garden Railway Dreaming

My old Garden Railway circa 2001
I've been into model railroading most of my life and have almost always had a layout of one form another since I was at least eight years old. This wasn't easy since we lived in very small house growing up. Since I'd accumulated a small G Scale fleet, the obvious solution was to build a garden railroad. In 1998, I did just that.

The Garden Railway started out as a simple loop of track on a plot of land that had once been a vegetable garden. But it slowly grew from one loop to two, and then stretched it's way across the back yard.

At first, the whole thing actually a bit frustrating. I had very little money and G Scale building are expensive. Okay, G Scale everything is expansive. So yeah, I was always a bit disappointed in my efforts in that my railroad never seemed to measure up to the beautiful backyard empires featured in Garden Railways magazine.

That all changed in 2001, when I got my first part-time job. Suddenly I found myself with a lot more money at my disposal. After I got my first paycheck, I opened a copy of Garden Railways, thumbed to a dealer ad listing all the locomotives and rolling stock I dreamt of owning and realized "hey! I can afford this!" So I started sinking some pretty serious money into engines, rolling stock, track and wiring.

I still made a lot of mistakes with that railroad. For one thing, I used brass track, which is nearly impossible to keep clean, making for some very balky train operation. I also used many sharp curves and steep grades, which also reduced operation reliability. On top of that, the railway had a few electrical gremlins that I never could get squared away. But when the railroad ran, it ran very well.

But then, in 2007, my parents sold the family home and bought a place in South Carolina. So, after nine mostly fun-filled years, the railroad was pulled up. I packed all my G Scale stuff away, only taking it out each year to circumnavigate the Christmas Tree.

Fast forward to today. I now own my own home and have a back yard with a spot that's just crying out for a garden railway. Not only that, but I have my wife's blessing to build a garden railway on said spot. Now money is tight and I have a lot of things competing for my spare time, so said garden railway is still at least a year or two off. But it's never too early to start planning right? I've definitely learned from my past mistakes and have a plan in mind.

To wit:

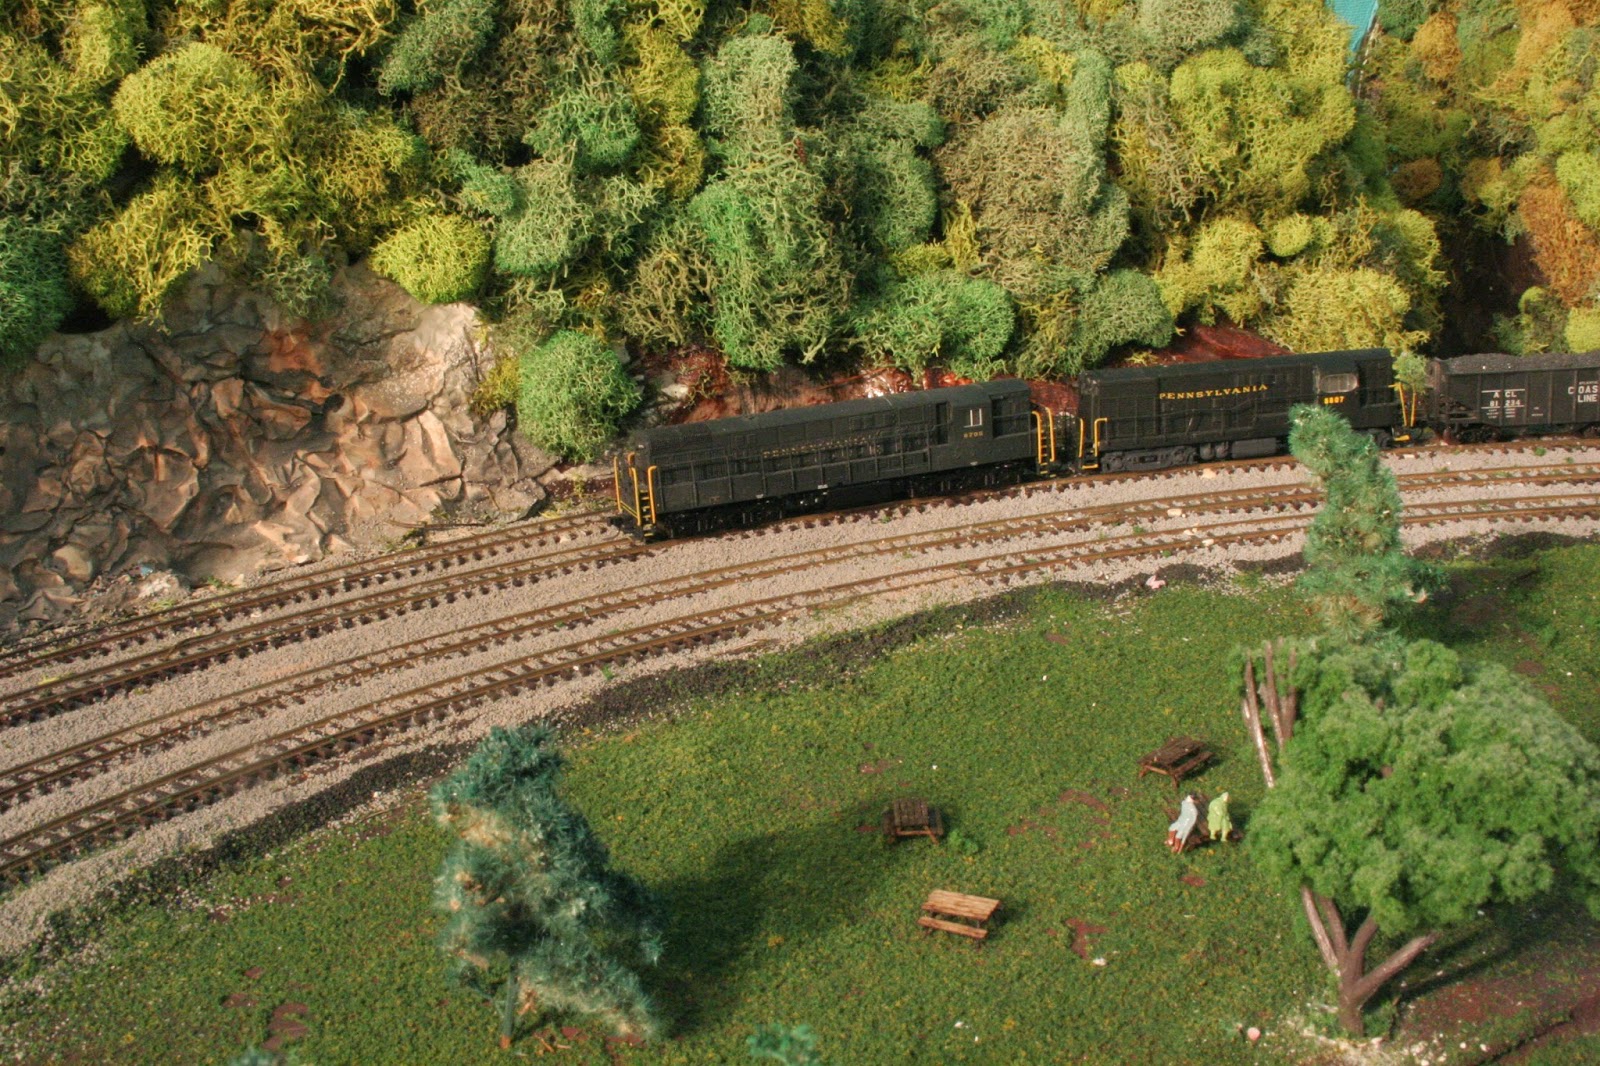
-Keep it small and simple. One loop with a passing siding and a few industrial sidings. I think the Pittsburgh Division more than satisfies my desire to run multiple trains at once and have complex operations. Plus G Scale turnouts are insanely expensive.

-No brass track! Keeping it clean is next to impossible and nothing kills my enthusiasm faster than balky trains. After trawling around the Internet, I think I'll be using Llagas Creek (link) nickel silver flex track.

-No sharp curves or steep grades. These caused nothing but grief on my last garden railway.

-More bullet-proof wiring.

I've also got a whole laundry list of wants:

-Model a prototype. I originally wanted to model the Ulster & Delaware (Link) in N Scale before deciding to model the Pennsy.

 -A rural branch line feel. I enjoy the big main-line feel of the Pennsy but I also have a certain affection for the run-down, lightly-used country branch lines.

-A Timber trestle.

-A small town

-A mountain range.

Anyway, as I've said, this is still a ways off, but I'll keep y'all posted.

Saturday, November 15, 2014

Remembering the CFRR

A little over a year ago, a couple of friends and I got together for the last official run of my previus layout, the Cherokee Foothills Railroad. The CFRR was a freelanced road running from Atlanta to Charlotte, following the base of the Blue Ridge Mountains through rural upstate South Carolina. It was a good little layout, but after four years and two moves, during which it'd taken a beating, the layout was definitly getting tired.

So, on November 9, 2013 me and three friends got together and ran the layout one last time. Motive power that night consisted of run-through Atlantic Coast Line FTs 309A-B leading a northbound high-priotirty mixed frieght transporting perishables. USRA 0-6-0 #487 hauled a local coal hauler while 2-6-0 #330 held down the local on the Clayton Branch.

A high-prioity mixed frieght hauling perishables from the south zips by with Atlantic Coast Line run-through power.
A railfan and his young son take advantage of their last opportunity to see fast freight on the CFRR.

Mogul #330, one of the last CFRR steamers still runningpauses at the Pratt's Hollow industrial area to pick up any remaining cars. This is a short branch line running from Westminster, SC to Clayton, GA
It wasn't a true operating session. Mostly we jsut watched the trains run round in circles whilst we chatted and enjoyed refreshmants. At this time, benwork for the Pittburgh Division was under contruction and the CFRR was increasingly in the way. But I ran the layout a few more times and used it occasionally for locomoitve testing until the main lines of the Pittsburgh Division were fully operational.

Thursday, November 13, 2014

Progress at Horseshoe Curve


I'm continuing to make slow but steady progress at Horseshoe Curve. I installed the tunnel portal for the road and began building the road itself. Like the culvert for Kittanning Run, I painted a piece of card stock black and glued it to the inside of the portal. I used joint compound to mate the portal to the hillside and to make the road as well. 

The next step will be to ballast the track, the add walkways and a stairway leading up to the public park inside the curve, add line poles and finally turf. 

I also planted some more goldenrod trees. I have several bags of the stuff down in the garage waiting to get made into trees.

Monday, November 10, 2014

Arboreal Adventures

This layout is going to require trees, thousands of them. Now on my past layouts, I've used Woodland Scenics trees. However, those layouts were also a fraction the size of this one and those trees ain't cheap. So, not wanting to take it in the shorts financially, I saught out a cheaper way to make trees. 

After scouring the web, I found a lot of meathods for tree making that looked good, but were a ton of work. I found some that were easy but produced crappy results. Then about two issues of Model Railroader ago, there was an article on making trees out of goldenrod.

"Well hey!" I thought. "Goldenrod grows everywhere around here!"

Basically, what you do is wait for the flowers to go to seed, which happens around early November here in South Carolina. Then you clip off the the tops, trim them into a tree shape and according to the article, dip them in oil paint. Instead of oil paint, I opted to use spraypaint. Below is the result.

Goldenrod trees, painted from left to right, Krylon "Hunter Green" Wal Mart Green, and  Krylon "Jade."

Since I didn;t wnat a monochromatic forrest, I opted for three shades of green. I used Krylon "Hunter Green," Krylon, "Jade" and Wal Mart green.I imagion I'll spray the majority of the trees with the Wal Mart green since it's $1.50 per can and used the $4.00 per can Krylon for accent trees.

Finished trees at Horseshoe Curve.
The trees look alright on their own. However when clumped together densly in a forrest, they look quite good. I'm very happy with how these turned out and happier still they only cost a few pennies apiece to make. However, now I know why desert-themed layouts are so popular!


Wednesday, November 5, 2014

Follow me on Facebook

If you enjoy this page, be sure to pop over to the Pittsburgh Division's Facebook page (Link). I post updates there as well as here. Click the above link or the badge at the bottom of the page.


Tuesday, November 4, 2014

Planning Horseshoe Curve


As you can see from the above photo, I've been planning out the inside of Horseshoe Curve. One thing that's become readily apparent is there's going to be a bit of selective compression needed here. Not that that's a bad thing. I find even though I'm modeling a prototype, sometimes a more impressionistic approach is better than trying to force reality into places it doesn't really want to go.

Anyway, the area inside the real Horseshoe Curve is filled with a lot of stuff. For one thing you have a reservoir called Lake Altoona. It;s fed by a small stream called Glenwhite Run, which enter the curve from the southwest. Then you have Glenwhite Road, which links the curve to the city of Altoona. If that weren't enough, as the late pitchman Billy Mayes would say "But wait, there's more!" Another small stream, Kittanning Run enters the area from the northwest and flows into a small, stone-lined canal ruining between the road and the lake.

At any rate, when I started plotting all this stuff out, I very quickly discovered I couldn't fit it all. So in my universe, Kittaning Run will simply drain into Lake Altoona and the road will hug the lake shore. So no, not a perfect model, but as I've said previously, I prefer my models be evocative of the prototype and not 1:160 scale carbon copies.

Saturday, November 1, 2014

2013-14 One-Year Layout Progress Report


Well One year ago yesterday, after months of blather about modeling philosophy, and my grandiose plans, it was time to get out the power tools and start making some noise.  I've managed to accomplish a lot in that year's time. So here's a brief progress report.

Benchwork: 100% Complete, 'nuff said.

Track: 
Main lines 100% complete and operational.

Yards and Staging:
Altoona staging yard 100% complete and operational.
Johnstown staging yard: 0% haven't started yet.
Altoona locomotive facility, about 95% complete. All that remains is to lay track to the back shop,

Industrial Sidings:
0% complete.

Wiring:

About 85% complete. Main lines and Altoona staging wired up and operational.

Scenery:

About 5% complete. I've been concentrating my efforts on Horseshoe Curve and the Altoona area. Only a relatively small area of the layout has scenery of any kind.

Goals for next year:

Scenery: My goal for next year is to finish Horseshoe Curve. This includes installing the lake, lighting, structure, roads, turf and trees. I also intend to finish the Altoona shop complex.

Track: My goal is to get the Johnstown yard installed and operational. Beyond that, I hope to begin installing the industrial sidings and branch line serving several factories and a coal mine near Johnstown.

Wiring: My plan is to wire up a third cab for yard operations at Altoona. I also plan to get the shop tracks and turntable wired up and operational.

Misc:  I plan to sell off the structures I won't be using and purchase a few that I'd like to add.

Addendum:

I have since decided to scrap cab controll and convert the layout to full DCC, rendering my wiring goal moot. See you in about 8 months!

Tuesday, October 28, 2014

Frustration, Stupidity and the Horseshoe Curve Backdrop

One of the biggest lies I tell myself when it comes to model railroading is "I can be neat with the plaster and/or paint." Case in point is the backdrop as Horseshoe Curve. Recall a few months ago I installed a view block to separate the curve from the rest of the layout. Well, prior to building the mountains you see in the above photo, I glued some bulletin board paper with a cloud pattern on it to the view block.

Despite my best efforts, I manged to slop plaster all over the backdrop. Now if I were smart, I would have removed the cloud paper before planting trees on the mountains. But why make it easy? I thought I could use a utility knife to cut new pieces of cloud paper but the trees made that impossible.

With cloud paper defeated, it was on to plan b, painting the backdrop sky blue. I painted the backdrop and I have to say it doesn't look any better. Then again it doesn't look any worse either. Let's call it a draw.

Sunday, October 26, 2014

More Work at Horseshoe Curve

Over the past few days I've been busy working on the mountains near Horseshoe Curve. I've gotten most of the mountains painted burnt umber. I've planted trees on the mountain all the way around the curve. The next order of business will be building the mountains in front of the tracks and then ballasting track.

My plan is to finishe off all the mountains and then finish the interior of Horseshoe Curve. This includes roads, the visitor's center and park, reservoirs and canals that are located inside the curve.

Thursday, October 16, 2014

Finished the Truck Dump


I put the finishing touches on the truck dump the other night. I wrapped up the actual construction by adding some Plastruct safety railings around the top of the structure. I then painted said railings and the coal chute Floquil "Grimy Black."

After all the paint had dried, I went about my usual weathering routine of weather wash, Dulcote, chalks and more Dulcote.

I capped thing off adding some coal to the inner hopper. This is actually black sand sold at Michaels under the brand name Creatology.


In other news, after running Pennsy for a while, Conrail has returned to the Pittsburgh Division.

Thursday, October 9, 2014

Whipping up a Truck Dump


Coal was and still is a major commodity on the PRR Pittsburgh division. Unfortunately I don't have the room for a full-sized coal mine on the layout. But then I saw a truck dump like the one pictured above on Lee Weldon's late great Western Maryland layout (Link). Coal is trucked from a mine, which can live somewhere off the layout, and brought to the truck dump where it;s transloaded into rail cars.

Intrigued, I shot Lee an e-mail and her very kindly provided me with the dimensions for his model, which as it turns out is a Campbell Models kit. Rather than buy a kit, I chose to scratch build a model from materials I had on hand. I used Evergreen V-Groove styrene sheets for the walls and various Plastruct styrene strips for the rest. The only part that wasn't scratch built was the coal chute, which was left over from a Walther's kit.

For paint, I went with Floquil "roof brown." I will need to apply a second coat tomorrow and add some weathering. For my first serius effort at scratch building, I don't think this is turning out half bad. We shall see when it's done.

Monday, October 6, 2014

Mountain Construction and Some More Weathering


After a month of foot dragging, I finally got around to finishing the remaining mountains inside the tracks between Horseshoe Curve and Gallitzin. Plaster is a lot of messy work and I don't often find myself with the energy to do it. But tonight was one of those rare nights when I did have the energy and now the large mountains behind the tracks are complete from Altoona to the east portals of the Gallitzin Tunnels.


I also got around to weathering my Kato C30-7. That takes care of most of the Conrail fleet.


Friday, October 3, 2014

More Weathering


With my fleet of Pennsy hoppers looking sufficiently grungy, I've turned my attention to my Conrail fleet. The first locomotives were my Atlas SD35 and Atlas SD50. I think they might have turned out almost a little to grungy but they still look good.

Thursday, October 2, 2014

Bear Necessities and Some Work on the Actual Layout


I admit it, I like to enjoy a cold brew while I'm running trains, occasionally one I brewed myself no less. Having a safe place to put was a necessity. To provide said safe place I picked up a cheap car cup holder from Dollar General, cut of the part the hooks over the car door and screwed it to the layout. Now I can safely imbibe while running trains without fear of spilling beer on the power pack.


I also finally did some actually scenery work on the layout for the first time in nearly a month. I glued more lichen to the mountains behind Horseshoe Curve.

Wednesday, October 1, 2014

Improving the Visability at Horseshoe Curve

As mountain construction has progressed, my view of Horseshoe Curve and the eastern approaches to the Gallitzin Tunnels from the control panel has been blocked. This isn't bad thing, in fact far from it. Having the trains disappear from view adds interest and not being able to see the entire layout at one time makes it seem bigger than it actually is. The one down side is if train decides to derail or stall in this section of the layout, I don't usually find out until said train gets rear-ended.

My decidedly low-tech solution was to buy a cheapie door mirror from Wal Mart and screw it toe the angled part of the wall over Horseshoe Curve. It's not a perfect solution as I can only see part of the track in question, But hey, some is better than none right?

Tuesday, September 30, 2014

Weathered Some More Hoppers


Well, it looks like I'll have something for the Model Railroader Forum's "Weekly Photo Fun" thread after all. I weathered the last few Atlas hoppers that were looking a bit too pristine. Basically the same procedure as the last batch so nothing new here.

I haven't really done any work on the layout itself for almost a month. Well, it's been a busy month. For one thing, I took a much-needed vacation to Vero Beach, Florida. Then the following weekend, I had a houseful of people as my wife's side of the family stayed with us and went to the Clemson - UNC football game. Throw in a heaping helping of schoolwork and late night classes sapping my energy, it's no mystery as to why this layout is taking forever.

You know what though? Rome wasn't built in a day and this is a hobby, not my life. Sometimes it's more fun to do things other than model railroading. I've adopted the whole "journey of 1000 miles starts with the first step" philosophy. If I have the time and energy to do something on the layout, great. If not, oh well. Slowing down isn't a bad thing at all. Model railroading for me is very much about the journey instead of the destination.

Tuesday, September 16, 2014

Weathered some Hoppers


I had to watch an hour-long video for one of my classes today. It was material I'd already been over, so naturally my eyes glazed over after about 10 minutes. However, I did have a quartet of Atlas 55-Ton hoppers, three fish bellies and an offset side to be exact, that needed new coal loads. So don;t tell my professor this, but I was weathering these bad boys while the video played.

Anyway, after removing the trucks and couplers, I started things off with a coat of weather wash (a few drops of India Ink added to a bottle of 70% rubbing alcohol). Once that dried, I applied the first round of Dulcote. For my next trick I took some black, white brown and gray chalks and mixed them together to create the perfect grime and soot mixture. I brushed it on liberally before sealing it with a final coat of Dulcote.

With these hoppers, weathering is only half the job. See, I've never liked the look of the plastic coal loads that come with them. They don;t look like coal; they look like molded plastic. However, there's an easy fix, which I'll explain here:

  1. Use an Exacto knife to gently pry each load from the hopper.
  2. Take the coal load and brush on a coat of Matte Medium. This can be obtained Michael's or Hobby Lobby.
  3. Place the loads on a sheet of office paper then take some Creatology black and (also available at Michael's) and dump it over the load.
  4. Pick up the load and turn it upside down so whatever didn't stick falls off.
  5. Put the load back in the car and you're done. Dump whatever sand didn't stick back into the jar for later use.
It honestly took me longer to type up those steps then it did to actually execute them. This also works very well for steam locomotive tenders.

Here's a video I made to demonstrate my coal load making:


Sunday, September 14, 2014

Tinkering with my Minitrix B6


Tonight I tackeled a project I've been bound and determined to get done for a while now, upgrading the headlight in my Minitrix B6 0-6-0 to an LED. I absolutely abhor projects that involve soldering tiny wires at awkward angles. At any rate, on to the blow-by-blow.


Installing an LED can be a somewhat cumbersome procedure. Complicating matter further is pickup from one side comes in from a set of wheel back wipers and is fed to the motor through the red wire seen at the top of the engine in the above photo. Power from the other rail however is routed through the frame itself. This makes tapping the power difficult. 

One solution is to solder one wire from the LED to the frame. I however, took a somewhat more complicated solution. See, like it's bigger brother, the K4 Pacific, the B6 suffers from poor power pickup. Only four of the six drivers pick up current. I added a set of Bachmann tender trucks and hardwired them to the motor. I tapped these connections to power the headlight. 

With the wires in place, I Removed the original headlight tower to make room for the LED and 1000 ohm resistor. Then I used alligator clips to mock up the circuit before soldering. With the engine running forward, I connected the the LED and resistor to the leads to determine the correct polarity. If you hook up the LED and it doesn't light up, reverse the alligator clips. When it does light up, use a sharpie to mark one side of the LED so you remember how to connect it. 

I soldered the LED and Resistor as close together as I could because space in the boiler shell is limited. Once I got everything soldered in and positioned, I put the engine on the test track. It lit up nice and bright but light spewed out from around the smoke box. To stop the light leakage, I glued a small piece of styrene to the bottom of the boiler shell.


While I was at it, I also touched up some of the paint and redecaled the engine.


Spartanburg HobbyCon

The Spartanburg County Library will be holding HobbyCon at the main branch on Saturday Spetember, 20.  The Carolina Railroad Heritage Alliance will have a large model train display. Among the layouts on display will be my N Scale "John Galt Line" portable layout.

The John Galt Line on display for National Take a Model Train to Work Day. The layout has since been summer-ized.
Unfortunatly, or may fortunatly, Iwil not be able to atend HobbyCon due to prior comitments. Here's a link to the library's site: (link)

Thursday, September 11, 2014

The BLI M1a is Almost Here

Broadway Limited Imports released pictures of the first engineering models of its long-awaited M1a 4-8-2. It looks like a real beauty. I imagine once mine arrives, most of my diesel fleet will be gathering dust. It sounds like BLI is still taking preorders for these things so if you're interested, head to your retailer of choice and make that reservation. And yes, I know this was a totally shameless plug for BLI.