Monday, September 12, 2016

Here Come the Trees!


This past week, I planted just a ton of foreground trees in Gallitzin. The effect was immediate.  The deciduous trees quickly transported the layout from high plains Colorado back to Pennsylvania. With the exception of a select few, the trees are all Woodland Scenics. Some were salvaged from my previous layout and some were even salvaged from my old PR&Y layout (link). 

Now, as you know, over by Horseshoe Curve, I chose to use trees made from goldenrod to save money. Well, I think the Woodland Scenics trees look a ton better, so I decided to just cough up the extra saw buck and go with them. Another downside of these trees is the require assembly, messy, tedious assembly. The prescribed meathod is to take the plastic armautres, bend them into the shape of a tree and slather them with Hobby Tack (yet another expensive Woodland Scenics product). Once that's done you dip the armature into the bag of "clump foliage," give it a hake and presto! You have a tree! Or so Woodland Scenics says anyway. More often than not, I pull the tree out of the bag and about 90% of the folliage falls right off.

Anyway, after assembling about three trees using the aforementioned method, I chucked the Hobby Tack and grabbed my can of Elmer's spray adhesive. This was the ticket!  I was able to crank out enough trees to finish Gallitzin in no time at all. Now, all that remains is staining some rocks, adding the power lines and some detailing.

Wednesday, September 7, 2016

Finished with the ballast and turf at Gallitzin


The title of this post really says it all, doesn't it? As you can see from the photos I also started planting some trees and added an underpass to the eastbound tracks. Said underpass was constructed using part of the base from a Model Power house kit, the girders from an Atlas code 80 through girder bridge, some Plastruct styrene and some Floquil "Grimy Black" paint. The abutments are from Chooch.

Now, all that remains is planting some trees, adding the remaining power lines and some detailing. Hopefully, Gallitzin should be done by week's end. With that, about half the layout will be seniced.

Friday, September 2, 2016

Earthworks Finished at Gallitzin


The terrain at Gallitzin is well and truly finished. Now all that remains is to do the roads and the plaster work is done. After that, I have to paint the terrain, turf it, plan some trees and ballast the eastbound tracks. When that's done, it's on to Cassandra!

Tuesday, August 30, 2016

Lighting up Gallitzin


Last night I sucked it up and wired up the remaining building lights in Gallitzin. All told, it wasn't that bad. I must say the results are quite impressive. Now, one problem I consistently find myself running into with these LEDs is they are so bright, the make the  buildings glow. The only real solution is to paint the inside black. 

Anyway, with that out of the way, Gallitzin is one major step closer to being done.

Friday, August 26, 2016

More Structures for Gallitzin

 I finished up a few more structures to round out Gallitzin. First and foremost, we needed a depot. For that I turned to Model Power and their built up station. The first thing I did was pull out the filament bulb and replace it with an LED. Next I painted the walls Floquil "Depot Buff," the roof "Grimy Black," and the trim and doors Polyscale "PRR Tuscan." I also lopped off most of the structure base.

For weathering, I started off with a coat of weather wash. Once that dried, I sprayed on some Dulcote and then some chalks followed by one more coat of Dulcote.

Overall, I think the station turned out quite nice. Granted, it only serves the westbound trains, so I will need something else still for the eastbound tracks.

 Next up, Gallitzin has churches, lots of them. Unfortunately, the same cannot be said of N Scale! Can I get an amen? Basically you have a couple of goofy-looking prebuilts or a wood kit from Banchline Trains. Given my experience the latter's "Tower House" kit, I opted for the goofy prebuilt, Bachmann as it turns out.

Out of the box, this kit is fairly lame looking. The walls are slid white and the roof and windows black. And there were the fake-looking bushes painted on the side; those had to go! The first thing I did was attempt to remove the windows and doors so I could spray paint the walls. Unfortunately, no dice, they weren't coming out. So I painted the wall Floquil "Antique White." This presented it's own set of problems as said color is very thin and runny. As such I had to lay on several coats over the course of several days to cover the bushses.

With the walls done, I painted the corner blocks Floquil "Roof Brown" and the windows "Southern Freight Car Red." The roof got, you guessed it, "Grimy Black." After the paint, it was time for weathering. I followed the exact same procedure I followed with the depot so no point in repeating it.The building did turn out a little dingy looking but since it's a white building right next a heavily-traveled main line during steam days, it would be covered with soot and cinders.

The last structure I tackled was a Model Power house kit I had tucked away, "Mr. & Mrs. Diggers" as it turns out. What a name, could you imagin if the Mrs' maiden name was "Gold?"

Anway, one problem I've been having with most of my structures is the LEDs are so bright they make the walls glow. So I started things off by spraying the sided of the wall with some cheap Walmart black paint. Not wanting to use more of my precious and dwindling supply of Floquil paint, I used Rustoleum "Hunter Green" for the walls and Krylon "Meringue" for the windows and doors. I did end up using "Grimy Black" on the roof (don't look so shocked).

As you can see, I also started mockin up the area between the two sets of tracks. Once I'm satisfied with everything, I'll install the lights and start permanentizing things.

Monday, August 22, 2016

More Progress at Gallitzin

This poor couple has broken down in front of the Haunted House. All that's missing is Vincent Price.

Gallitsin Business District looking north.

The gas station is doing a brisk business.

Ballasted track looking towards the Gallitzin Tunnel

Looking west.

Overall view
Wow, where to even begin. I've planted trees, added details, ballasted the westbound tracks, got the business district installed and installed the western portal of Portage Tunnel. All that remains in a relativly small area between the two sets of tracks and then it's time to head west.

Wednesday, August 17, 2016

Entering the Home Strecth at Gallitzin


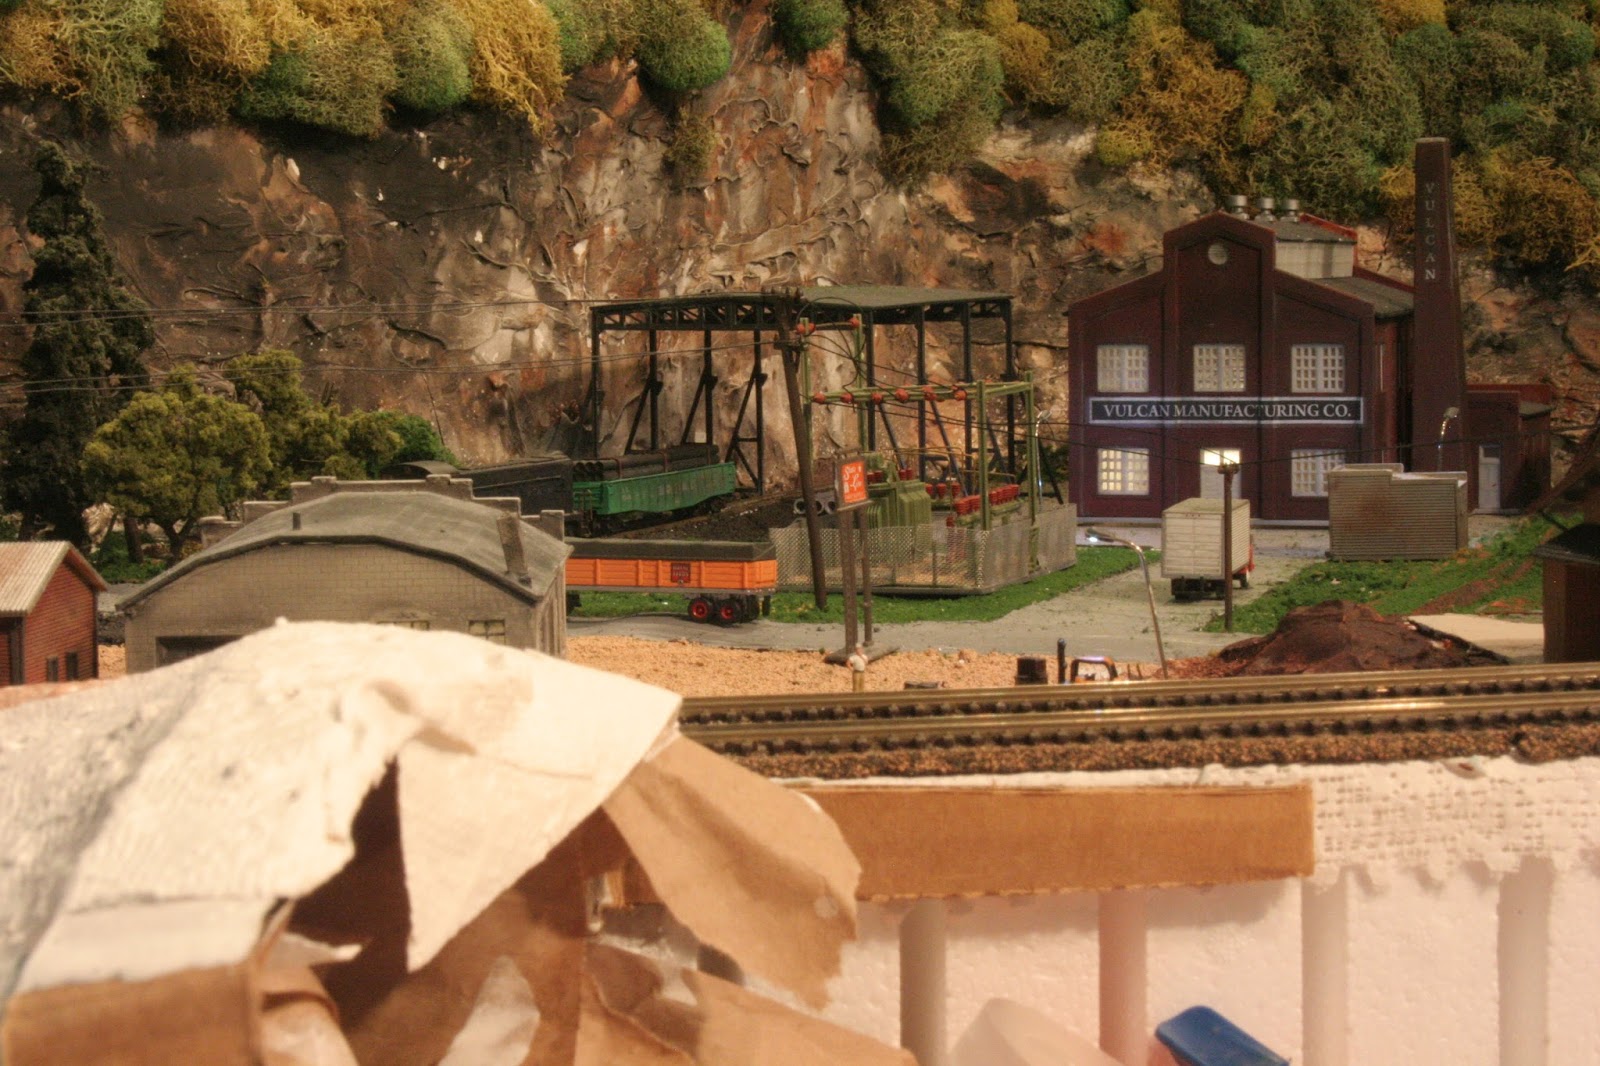
I'm continuing to make major progress at Gallitzin. The earthworks inside the westbound tracks is completed. All that remains is a small area of turfing, rock staining and planting some trees.  One major project I'd been dragging my feet on was the utility poles and power lines. For the low voltage poles, I used some Model Power poles, which I painted Floquil "Roof Brown" and then removed two of the three cross arms. 

As for the high voltage poles, these required a bit of head scratching. High voltage pylons are available in N Scale but they are quite costly. In search of a cheaper solution, I decided to take a peak over the wall and see if HO had anything I could use. I got lucky and found some HO telephone poles that would make perfect HV pylons in N Scale. Wire for the poles is black sewing thread. To secure the line, I wrap it around the pole's arm and then brush i with a bit of acetone, which melts the plastic and provides an instant bond.

With the interior largely done, I started on the area between the east and westbound tracks. This included taking the block of foam that holds Gallitzin's business district and fixing it to stanchions. All building lights were installed and attached to a single pair of leads that needed to be routed through the table top. With the foam in place, I used plaster-soaked paper towels to blend it into the existing scenery. 

The next project was the overpass to carry Main Street over the westbound tracks. This is simply a Rix Early Highway Overpass kit on some Chooch Enterprises abutments.