Tuesday, December 30, 2014

Ground Broken on Johnstown Yard

A short branch line will link Johnstown to a coal truck dump.

The staging yard will have two run-through tracks and two stub-end tracks.
Yesterday, work finally got underway on the Johnstown staging yard. Like it's counterpart in Altoona, it will be visible and sceniced. The first part of the project consisted of moving the various material I had stored on that end of the layout. And boy there was a lot of it!

Once I'd clear sufficient real estate, I set about layoing down Midwest Products cork road bed. Unlike Altoona, where all tracks run through, two will be dead ends. Also included in the festivities was a short branch line that runs east out of Johnstown, with a spur for Red Wing Milling and George Roberts Printing. Ultimately, the branch line will terminate at the coal truck dump.

Now, I'm waiting on an order of rail joiners in order to complete the project.


Another project of mine was this Lifelike "William's Country Store" kit. Right away I decided I didn't like the stock colors. So I painted the walls "Roof Brown" and the roof "Grimy Black." I originally wanted to do "Antique White" on the trim but, being a runny pain-in-the-ass, I decided to go with "Rail Brown" instead. Now all that's left is weathering.

I'm also not sure I like the base. If it weren't for all the steps and stuff, I wouldn't have bothered. Honestly the bases look awful and are hard to disguise. I may just cut most of it off with my Dremmel and be done with it.


Wednesday, December 17, 2014

Humpty Dumpty is Back Together Again


Well, after being out of service for the past few months, my I1sa is back in action. Back in August, a certain klutz who shall remain nameless accidentally bumped the layout and knocked the engine off. It fell the floor and broke the crank on the fireman's side valve gear. Given that the Minitrix 2-10-0 has been out of production for years, parts are no longer available. It was looking very uncertain if she would ever run again.

Fast forward to last Sunday when I posted a query to the PRR N Scale Modeling Facebook group about obtaining a replacement crank. Member Chris Broughton very graciously offered to provide a replacement set of cylinders, cross heads, main rods and valve gear that he'd stripped off a junker. The parts arrived in the mail today.


Since the whole assembly is riveted together, I had to replace the whole thing, which really isn't that bad of a job. It was just a simple matter of removing two screws, removing the old assembly, replacing it with the new and reconnecting the side rods. I did have to clean a bit of CA out of the hole the vale gear crank connects two on the fireman's side. It was there from my botched first repair attempt. Other than that, it was pretty painless.

Saturday, December 13, 2014

A Flagpole for Horseshoe Curve

In the 1950s, Horseshoe Curve looked very different than it does today. It sported only rudimentary facilities and a a small park next to the tracks. One feature of the park was a flagpole. This was dead-easy to model. All I did was print out a a flag, cut it out with an exacto knife and taped it to a piece of styrene.

I also yanked out the tree I planted to cover one of the holes I drilled yesterday. Woodland scenic course turf is just as effective at covering the hole without blocking the view.

Thursday, December 11, 2014

Busy Day at Horseshoe Curve


With finals out of the way, it was more than time to get going on the layout again. I focused my energy on Horseshoe Curve. For starters, I planted more goldenrod trees. Now normally when you plant trees on a hillside, you normally want to place the taller trees on the bottom and the shorter ones on the top. This gives the illusions of distance. However, I wanted to give the illusion of the hill being taller than it actually was. To do this, I place the taller trees on the hill and the shorter ones on the bottom. I think the effect is quite convincing.

While the Horseshoe Curve Visitors Center wasn't opened until the 1990s, there was always a little gift shop at the base of the hill. I chose to use an Alloy Forms "Yard Master's Office" kit. This is one of three Alloy Forms kits I purchased at a train show a few years ago. I have to say, they're nothing to get excited about. They're made out of pewter and as such require CA to glue together. Also, the parts are quite fragile and bend and mangle if you look at them wrong. They also come with huge, clunky metal bases that are very difficult to hide. I ended up cutting most of the base off.

After the gift shop was done, I added a pair of street lights to the parking lot and installed the road bridge over Kittanning Run. The bridge is a Rix "Modern Highway Overpass" kit salvaged from my last layout. I also painted the stream bed of Kittanning Run and the area around the edge of the future reservoir. 


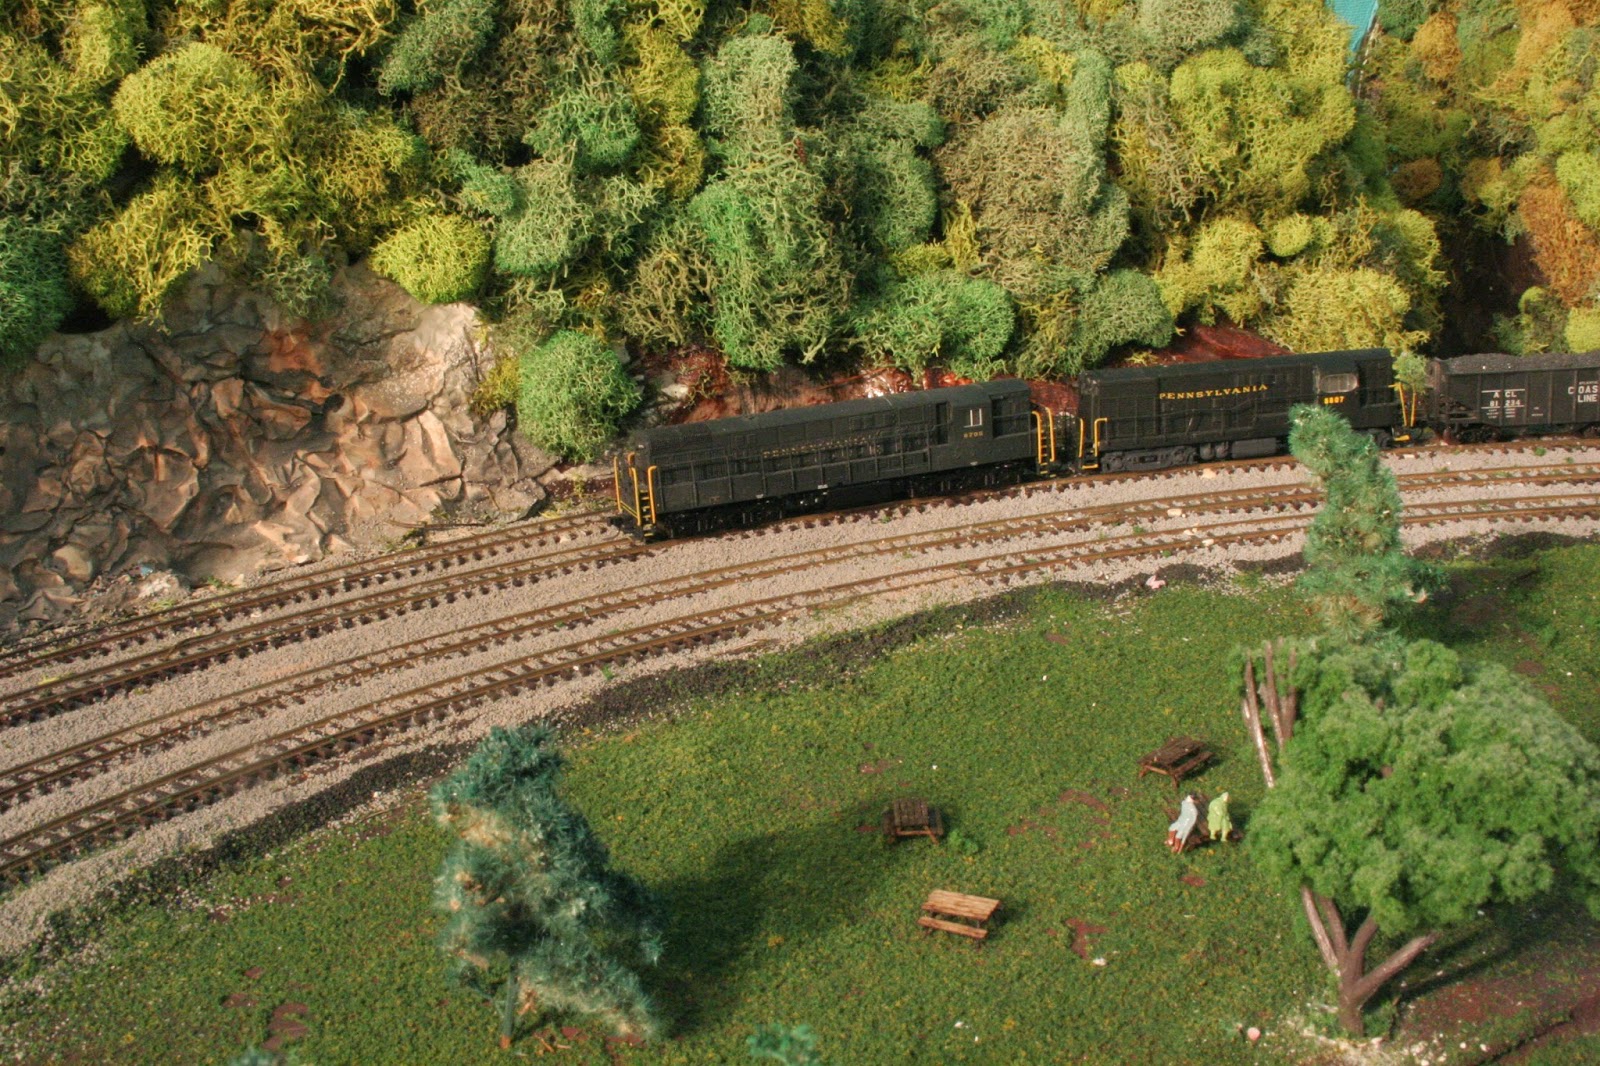
For my last trick, I added a quartet of picnic tables to the park area inside Horseshoe Curve. The tables are from New Rail Models and good golly, what a pain they were to assemble! These thing are tiny! Needless to say there was a good about of teeth gnashing a bad language as I put these things together. 

I wanted to add some street lights to the park area, however there was a problem. The park area is composed of two layers of 2" foam sitting atop yet another layer of 2" foam. That makes a grand total of six inches of foam to pass wires through. My usual procedure for running wires through the foam is to drill a hole through it and the layer of luan plywood beneath the foam and push a piece of styrene tubing through it. 

Well, I don't know what the problem was, but I simply couldn't get the tubing through the foam. I tried forcing it, I tried hitting it with a hammer, but it would not go through. Next I tried a screwdriver and even that wouldn't go through. Stumped, I just gave up and covered the holes with course turf and called it a night.